Knowledge Bank
Moodboards: What? How? Why? Where?
9 February, 2023

If you’re new to moodboards, this article is for you.
When beginning a design process or starting a new project, it can sometimes be difficult to find inspiration or even know where to start. Moodboards are a great way to brainstorm, get creative and begin to get an idea of what you want to achieve and where you want your design choices to go. At its core, a moodboard is simply an arrangement of images, text, and other design elements that reflect the desired style or concept of your project. It aims to give you an overall sense of the aesthetics you want to achieve without going into too much detail at the early stages of the process.
Benefits
You may be thinking ‘what benefit will a mood board have on my design journey?’ Your moodboard will help you in the initial stages of your design journey to spit ball ideas and see your ideas begin to come to life. It will also allow you to visualise your aesthetic and communicate it to whoever may be working on your project with you.
A mood board works as a communication tool to allow partners and colleagues to see your vision and avoid any confusion on what the final atmosphere and aesthetic you are wanting to achieve is. All those wonderful thoughts and ideas swimming around your head will be carefully curated and displayed on a board for everyone to enjoy and most importantly, understand.


Communication Tool
Creating a moodboard can work as the foundation for the understanding between you and your client and your design styles. The moodboard can be tweaked easily, particularly if you have your materials to hand. You can go through your board with your client or partner and discuss what looks best together, swapping in and out different materials and colours. It can prove to be a great communication tool by acting as a conversation catalyst between you and your client, which will remove grey areas of confusion or an ‘I’ll know it when I see it’ mindset. Being on the same page as your client will build a level of trust in your abilities at an early stage in the design process.
Physical Moodboard
There are a few different styles of moodboard. The two most common are Digital and Physical. A physical moodboard can be hard to beat. It allows you to gauge a real sense of how you envisage your idea coming to life. You can feel textures and fabrics and compare how light bounces off colours and what works better beside each other in real-time as opposed to on a screen. You can also add scent to a physical moodboard which could be important when creating an atmosphere for your project.

Digital Moodboard
However, there is a lot to be said about a digital moodboard. A digital moodboard provides you with a lot more opportunity to pull pieces of furniture and layout design that have already been done before that you’d like implemented in your plans. Maybe there is a specific piece of art or furniture that you want to be included. A digital moodboard also allows you to add audio and video elements which can really create an atmosphere and evoke emotion when communicating your vision. Digital moodboards are also transferable so when working remotely or sending off designs to others, they can be easily sent.
Often for bigger projects, it may be an idea to include both physical and digital boards to cover everything and immerse your design team in your vision.

Step by Step Guide to Making Your Own Mood Board
1. Brainstorming
Creating your moodboard should be a fun, creative experience. Unleash your inner Picasso and go wild with your suggestions. Have a brainstorming session, pick out words, colours, and materials that spark your interest that you think you’d like incorporated into your project.
2. Materials
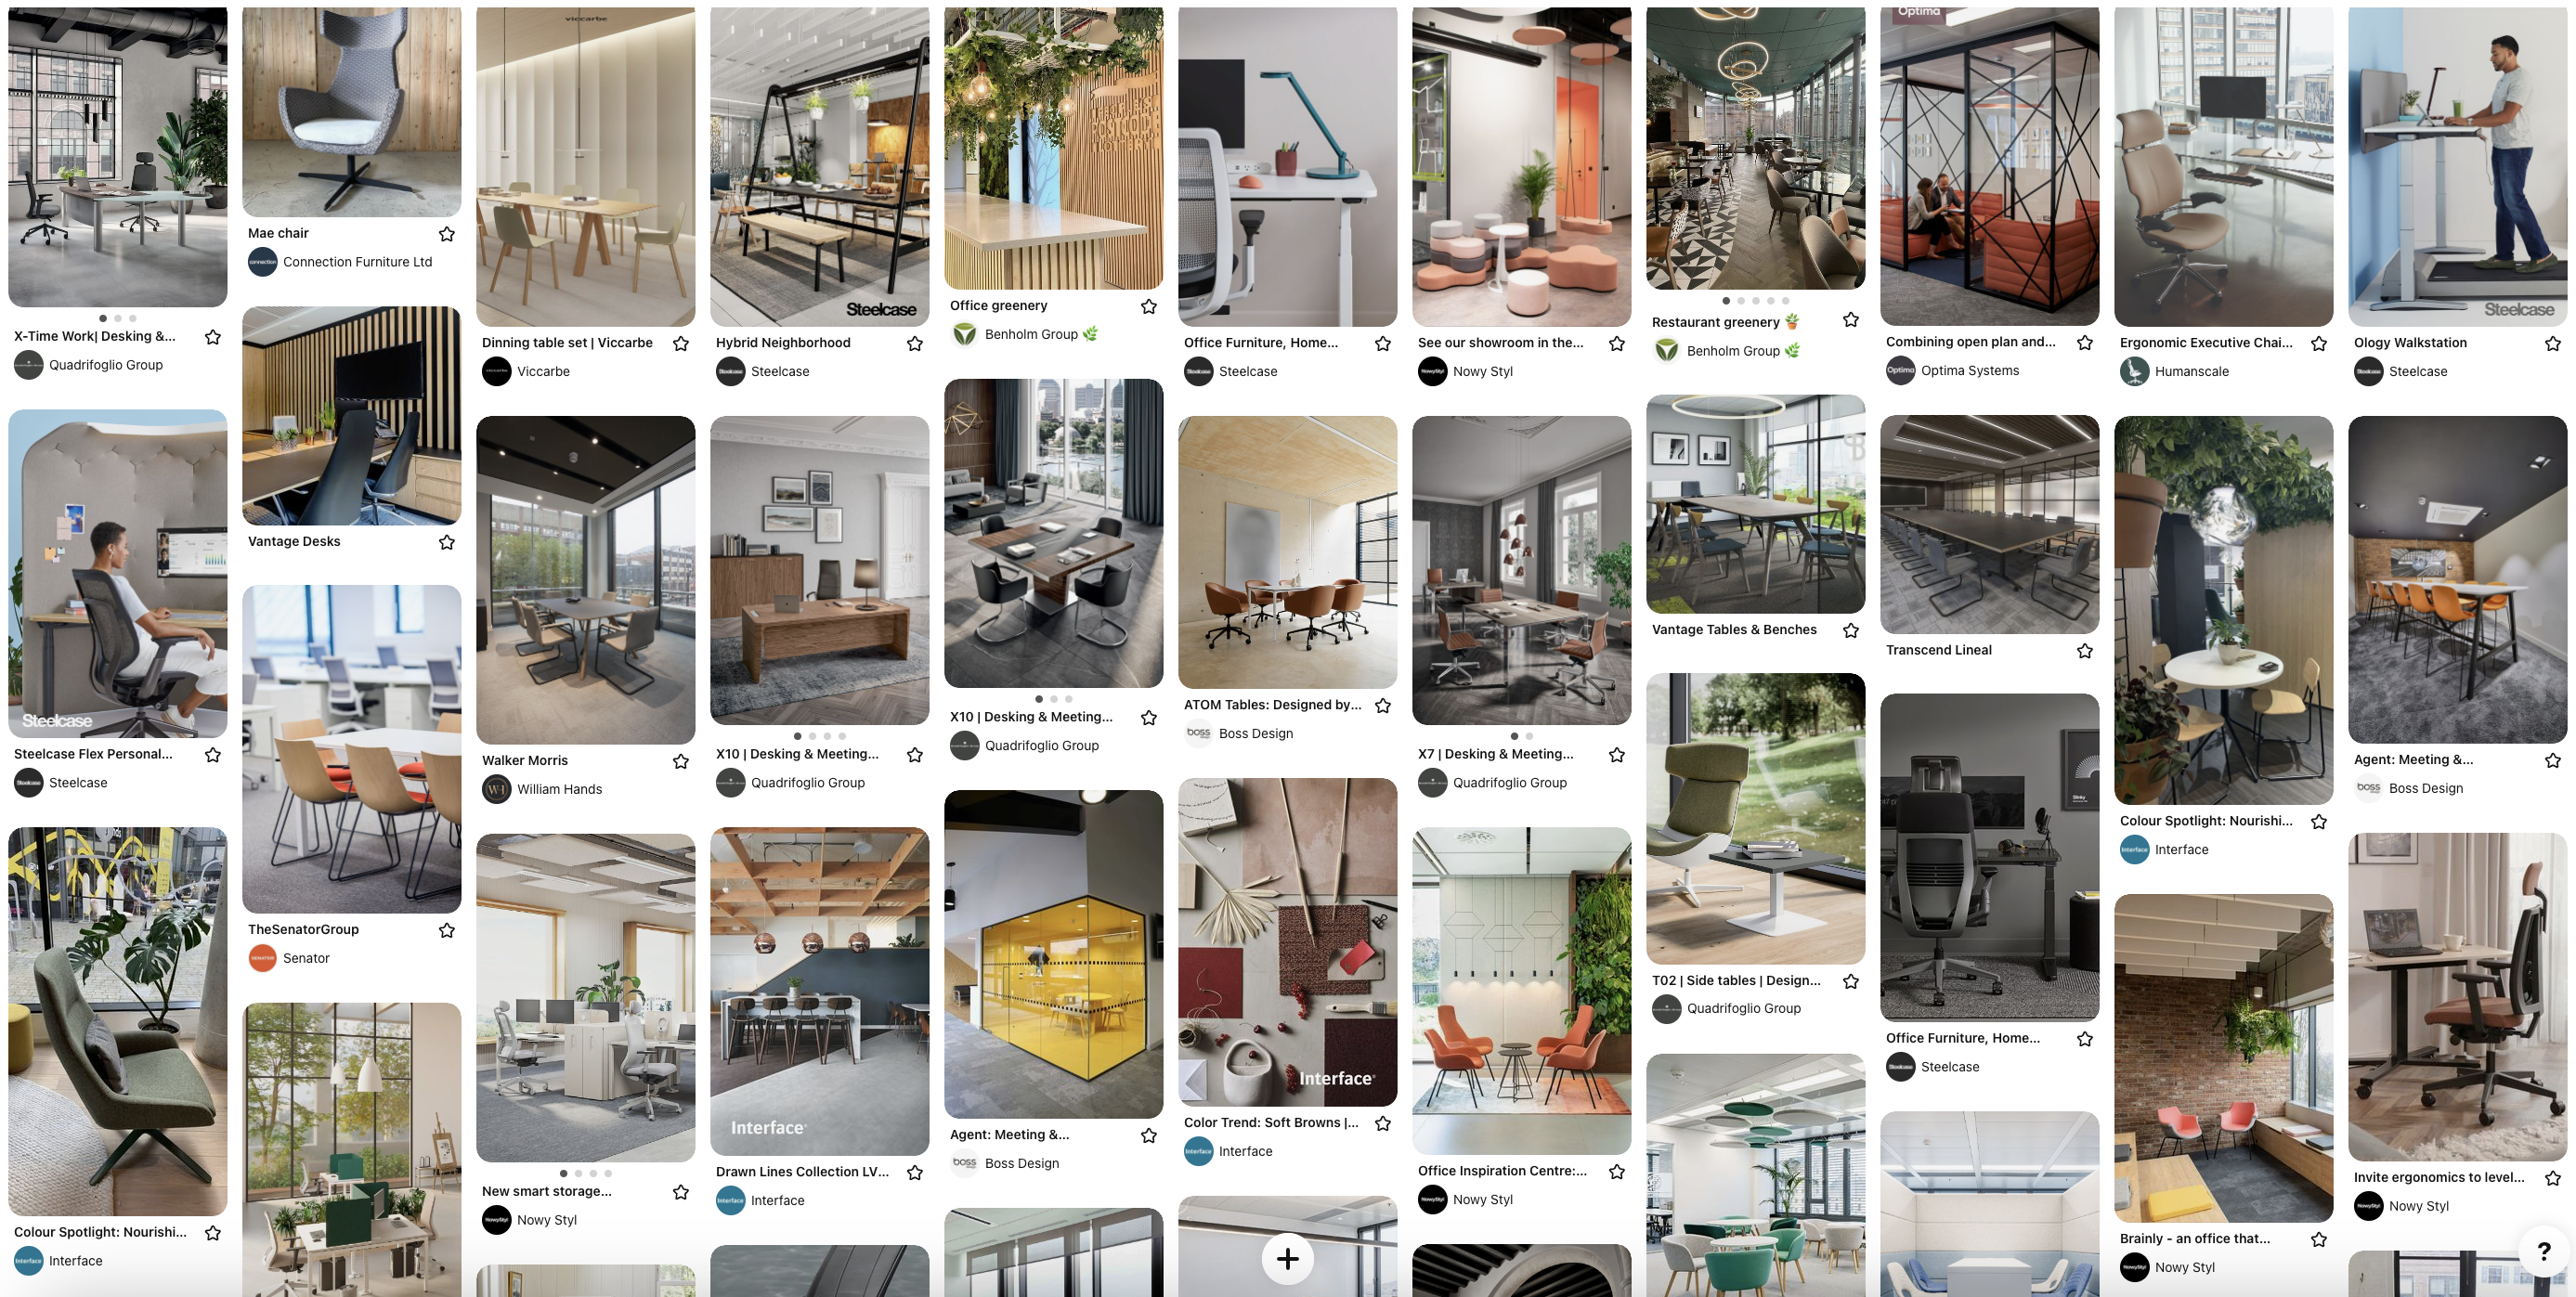
A physical moodboard can be a fun chance to get crafty, if you’re opting for this type and you don’t know where to begin with sourcing materials, visit a charity shop. Charity shops have lots of bits of material and scarves and even old jewellery that are inexpensive. Old parts of jewellery could be used to compare colours against different metals and materials. Crafts stores will also have lots of materials and colours that you can use on your moodboard. There you’ll be able to pick up the essentials like glue and pens too. If you’re going for a digital board, apps like Pinterest are designed for creating moodboards. There are endless examples of inspiration and designed spaces to choose from that match your aesthetic.
3. Organisation
You’ll need some level of organisation to your moodboard so try separating your board into categories like colour, fabrics, materials, textures and design examples. Once you have that down you can begin placing your elements on your board. Don’t forget the atmospheric pieces incorporating furniture, colour schemes, lighting and other decorative elements that bring together all the individual pieces perfectly.
4. Curation
Experiment with different layouts and styles and decide what looks good together. With your moodboard, it will be easy to identify elements that will help develop the atmosphere and aesthetic of your space, and parts that won’t look good together, try to avoid clashing elements.
5. Present
Make sure you have a story to tell with your board. Stories help to evoke emotion from your client or designer and develop the same motivation and passion in their minds that you have for your design process.
Visit our Pinterest page here to see what’s inspired us. You can use our pins to help you get started and create the perfect moodboard for your upcoming project.
Remember, your moodboard doesn’t have to be perfect, it just has to communicate the vision you’re going for and get a conversation with your team started. Most importantly remember to have fun!


